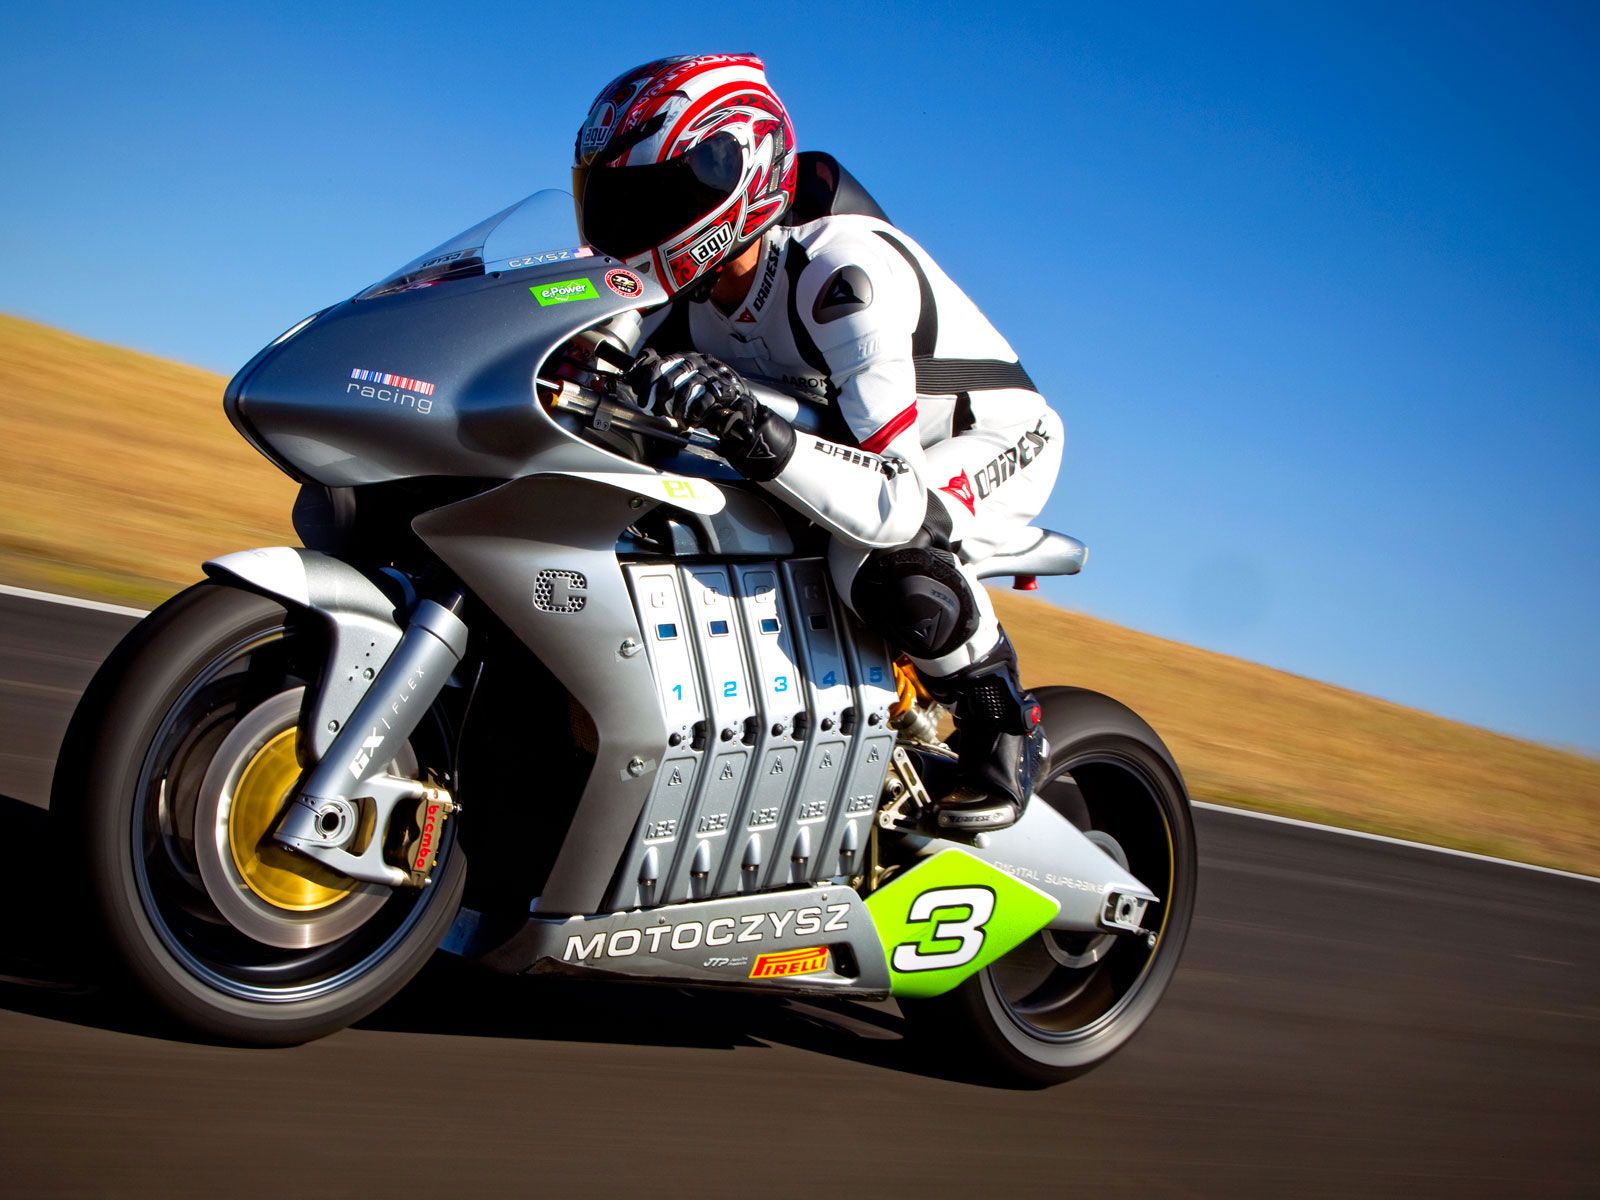
If you’re going to enjoy and feel comfortable on your bike, your contact points are key and perhaps the most important is getting the fit of your boots correct. Unfortunately the world of motorcycle boots can be quite a shock to new riders; first and foremost it’s renowned for being expensive.
You can’t simply walk into a high street store and pick up a military boot for £20 and expect that to do the job; motorcycle boots are high-end, specialist sports equipment. It’s also true that a lot of bikers come to the market expect much more out of their boots than they should: a track boot simply will not be comfortable in the office all day – that’s a fact!

However, that’s not to say that there isn’t a great pair of affordable boots out there for everyone, and here’s a guide of how to ensure your boots are the right fit for both you and your bike…
Step One: Riding Type
Just as your race boots probably won’t be a fashion statement, they probably won’t be all that comfortable for a five-day commute either. Buying boots is unfortunately always going to be a little bit of a compromise and so you need to figure out what sort of riding you’ll be doing most. For most beginners, this means a stiff soled, calf-high boot with some waterproofing quality.
Step Two: Protection vs Comfort
The one trade off that every biker needs to think about is how much protection do you really want and how much of that can you lose for comfort. At one end of the spectrum, you have your standard leather walking boots; soft, sure, but they’ll fall apart on impact with the tarmac. Alternatively you could go for the race-type straightjacket of a boot which will keep you protected even if you fall at 150mph. Somewhere in-between these two extremes will be your perfect boot; identify a few you think you’d like to try.
Step Three: Try Your Boots
There is no substitute for physically trying your boot on and, if you miss this step, you could end up with a pair of nice looking but, ultimately, useless boots. Try three or four boots in a row having been walking around all day and this will give you a feel for the comfort with tired feet. Your boots should not feel tight but there should be no room for your heel to move when walking. Try your boots in a crouched riding position to get a feel for the correct fit and use all the advice you can from the shop assistant; they will have experience in proper fit.
Step Four: Added Extras
Boot brands will usually offer one ‘boot’ in several models; the fit will usually be identical and the only difference will be in the materials used, the quality of the waterproofing and the breathability. We’d thoroughly recommend a watertight pair or you’ll find yourself either splashing out for aftermarket boot covers (or just splashing around) and if you plan on taking a long tour or hard racing, invest in breathable fabric. This might cost you an extra £40 on the shop floor, but a new pair altogether could be £100+.
Step Five: Styling
After all is said and done, your boots do need to look good! Beware that you will pay for style and it won’t give you anything (except kudos) but there’s nothing wrong with that! The one pitfall to avoid is buying the wrong kind of boots altogether just because you like the style. A shop assistant won’t necessarily help you not to spend the extra cash, so beware the pitfalls!
If you follow these steps you should end up with a pair of boots you really love, but remember that as your biking style develops, you might start to seek out an upgrade. This doesn’t mean you bought the wrong pair to start with; it’s just a way of showing how your riding has developed…
Visit aquote bike for a motorbike insurance quote.

