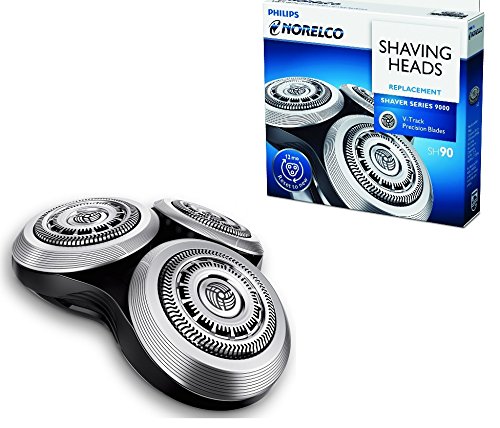
As with any other best electric razor, your Norelco Shave will undergo normal wear and tear with regular use. The cutting heads will go dull, get clogged with hair and other debris, and eventually break or get chipped. The bad news is, dull, clogged and broken cutters will do you more harm than good. The good news is, there’s no need to immediately dispose of your Philips Norelco shaver because you can easily replace these cutters on your own. Replacing them before they get dull or clogged means that you get more out of your shaver for a longer time.

Instantgrooming has outlined the steps to replacing the shaver head. This should be an easy enough task if you are familiar enough with the parts of your Philips Norelco Sensotouch 3d shaver. Basically, you will only need to manipulate the shaver head, the cutters and the locking mechanisms in the cutter head. With these simple parts, you should be able to replace your shaver cutters and get them working in mint condition in just a few minutes.
Below are the steps to replacing your Philips Norelco Electric Shaver cutters:
1. Remove shaver head.
At the bottom of the shaver head you will find a button which will open the shaver. Pull the shaver head and remove it from the body.
2. Unlock each cutter from the shaver head.
Each cutter is secured in place by a locking mechanism. The cutters can be easily removed from the head first by unlocking them. To do this, simply turning its locking piece in a counter-clockwise motion, and then pulling it away from the head.
3. Detach the cutters from the shaver head.
Once you have unlocked the cutters, now you can safely detach them from the shaver head.
4. Replacing the cutters.
To replace the cutters, first you have to align each one of them towards the correct installation position. This is indicated by metal tabs and bumps on the edge of each cutter. The bumps on the metal cutters should be placed towards the center of the shaver head.
5. Lock the cutters in place.
Now, lock the cutters by replacing the lock loops over the cutters. Twist the center piece of the cutter lock in place in a clockwise motion. This will attach the cutters securely to the head.
6. Replace the cover head onto the shaver.
Place the cover head onto the shaver, and snap it back securely with a click. Now, you’ve successfully replaced your shaving heads and are ready for another smooth shave.
See how easy it is to replace your shaving cutters? With some more practice, you should be able to replace cutters without having to look at this guide in the future. That is definitely one advantage of your Philips Norelco Electric Shaver that you can truly appreciate. You can get the most out of your electric shaver by keeping your cutters sharp and working like new, without having to shell out the entire amount you need to buy a new shaver. Practical isn’t it?

