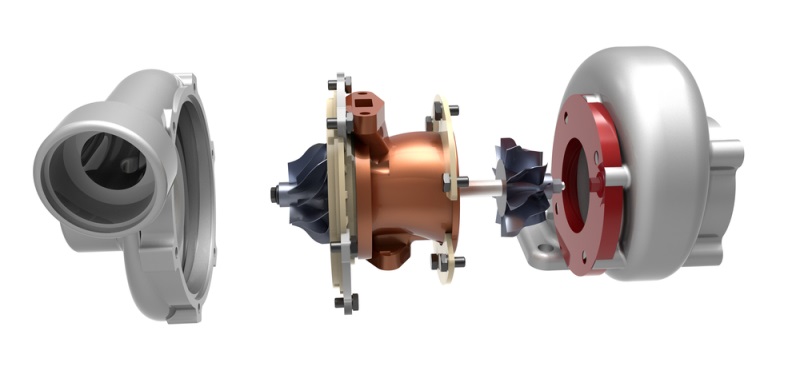
Stuck vanes in VNT turbo are a common problem, especially in diesel engines. When the vanes stick, it can hamper the performance of the VNT turbo mechanism. If you are too broke to take your car to the neighborhood mechanic, you can repair the mechanism yourself with a few basic tools and a lot of time.

Here is a step-by-step guide to repairing stuck VNT turbo vanes.
- Things you need
- A 12 mm socket and a small extension
- An allen key
- Metal tube, which will help you get leverage on the allen key. However, it is not mandatory
- Some kind of oven cleaner spray that contains sodium hydroxide for cleaning purposes.
- To start with, remove the nuts and head screws of the EGR pipe. If the nuts are too tight to come off, you could spray them with a lubricant solution like lusol and keep them for a good 10 minutes. Use the metal tube with the allen key to get them off.
- Get a silicon tube of 3 mm width and a torch. Put the tube in the EGR hole, and then bend down with the torch to make sure the tube is inserted in the hole that leads to the exhaust turbine. This is an important step and should not be missed. You need to make absolutely sure that the tube is inserted in the hole to the exhaust turbine, and not anywhere else.
- Get the cleaner spray with sodium hydroxide and put its nozzle in the tube. Spray the solution until you can it on top of the hole that the tube is inserted in. Sodium hydroxide breaks down carbon, which is the reason for the vanes of the VNT turbo sticking in the first place.
- Leave the solution for a couple of hours so that all the carbon that’s built up is dissolved. After a couple of hours, operate the VNT lever. Instead of sticking on the top, it should operate normally, meaning it should drop under its own weight when left alone. If it so happens, your VNT turbo vanes have now been repaired. You can now take your car for a spin. However, make sure your engine is warmed enough before you start pushing your VNT turbo.
An Important Caveat
Before you decide to fix the VNT turbo of your car on your own, make sure the engine of the car is sufficiently cooled down. While the DIY procedure of fixing the vanes of your VNT turbo is simple enough, if you are not sure enough, it is best to take the car to your neighborhood mechanic. However, don’t let the mechanic take you for a ride.
Most VNT turbo mechanisms in cars are built to last several thousand kilometers. Thus, the next time you take your car for service and the service station offers to clean your VNT turbo after a few hundred kilometers, you can smell a rat. VNT turbo is does not require cleaning so soon. Often, VNT turbo can last for more than a 50,000 kilometers before they need any sort of attention.
Change your Screws if Needed
When you remove the ERG pipe of your VNT turbo, then pay attention to the screws. If they are too old and rusty, replace them with new ones. Rusty fittings can lead to faster carbon build-up, which ultimately hampers the performance of your vehicle.
How can you Diagnose and Replace a VNT Turbo Actuator?
The vnt actuator is more like a waste gate and when it becomes limp, and this causes serious problem for the car. The suction pipes, vnt rods and vacuum lines must be adjusted accordingly before replacing the turbo actuator. The pressure created by the vacuum and the internal vanes should work properly to keep the car working.
This blog has been written for reader to provide some information about VNT turbo. If you want to know more then let’s have a look to get more information.

