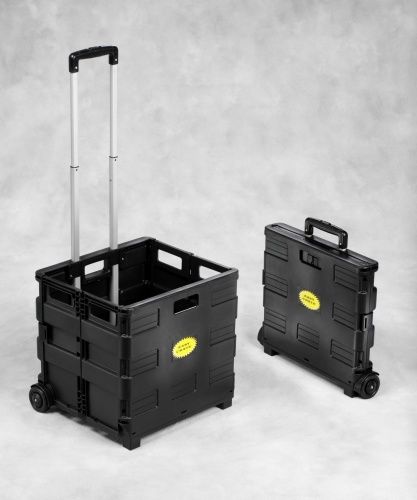
Though you won’t exactly call it craft, but DIY rolling carts are fun to make. Moreover, the kind of utility that they provide will not make you repent over the time that you spent on making one. Ready with your notepads and pens? To begin with, making a portable cart needs three basic things: time, patience and creativity. Don’t worry if you lack on the third one; you can borrow some from the Internet, which has an overflowing reserve of ideas. But time and patience should be in plenty.
It is advisable to make the cart in installments, over a period of three – four days, so that your work becomes easier. This will not tire you out; plus, you will get enough time to research and plan about the kind of portable cart that you want to design.
Things that you need
- A side table with four legs that looks more like a stool. Make sure that this should be at least 3 feet high.
- Three rectangular baskets of the same width, which fit inside the legs of the stool, one below the other.
- In case you don’t have a table, you’ll need all the stuff that is required to make one: a saw, wood, sanding machine, tools that can cut and shape wood.
- Adhesive that lasts.
- Four wheels to be attached to each leg of the table, which will soon be a cart.
Get set go
If you already have the table ready, here are the following steps to a DIY quick cart:
- Paint the table in a color that you like. You can pick from yellow to green to red. If you like to experiment with the design a bit, paint the table in polka dots, abstract lines, smileys or any other pattern.
- Take each basket and paint it in a color or pattern that matches. Put adhesive on the rim of the baskets and attach them to the inner edges of the stool legs, one below the other, at an equal distance.
- Just in case you want, you can attach a basket on the seat of the stool as well; however, if you don’t you can probably use the cart as a two-in-one equipment that functions as a table as well as a cart.
- Attaching wheels to the legs of the stool is the last step. You might need the help of someone who can fix them nicely.
That’s done. Your Office Cart is now ready to be used. You can place it nicely right below the window that opens into the kitchen garden. Otherwise, you can place it next to the dining area where your kid likes to sit and watch you cook. Label the racks according to what you’d like to put inside. For example, the upper cabinet can contain the daily use knives and spoon. You’ll love this easy DIY quick cart for the convenience and portability that it offers.

